


If you’ve ever found yourself swooning over those radiant, glowy skin tones in other photographers’ work and wondered, “Okay, but how do I get that look?”—you’re in the right place. Creamy skin tones in photos aren’t reserved for flawless models or golden-hour only sessions. Nope. They can be achieved consistently with the right approach, no matter who you’re photographing.
Let’s break it down.👇
What Are Creamy Skin Tones?
Think soft, luminous, and evenly lit skin without harsh shadows or washed-out highlights. It’s not about lightening skin color or masking texture—it’s about creating a glow-from-within feel that enhances your subject’s natural beauty.
And yes, this applies to every skin type and tone. Creamy skin tones in photos are for everyone. ✨

The Three Secrets to Creamy Skin Tones
Here’s the trifecta I swear by:
1. Lighting
Soft, filtered light is your best friend. Think:
- Golden hour sun
- Shade on a sunny day
- Overcast skies
- Indoor light softened by curtains or reflectors
Good light minimizes contrast and creates smooth transitions in skin tones—aka, creamy magic.
2. Camera Settings
Wide open apertures (f/1.2 to f/1.8) give you that dreamy depth and softness that flatters skin like nothing else.
Try:
- Shooting with a 50mm or 85mm lens
- Keeping ISO low to preserve detail
- Prioritizing skin exposure while metering
3. Presets
This is where consistency shines. A good preset doesn’t just slap on a vibe—it enhances your work while keeping skin tones creamy and clean.
I designed the Four Seasons Preset Pack with this exact goal in mind: natural, glowy edits that don’t overcook skin tones. Perfect for all seasons (and all skin!).
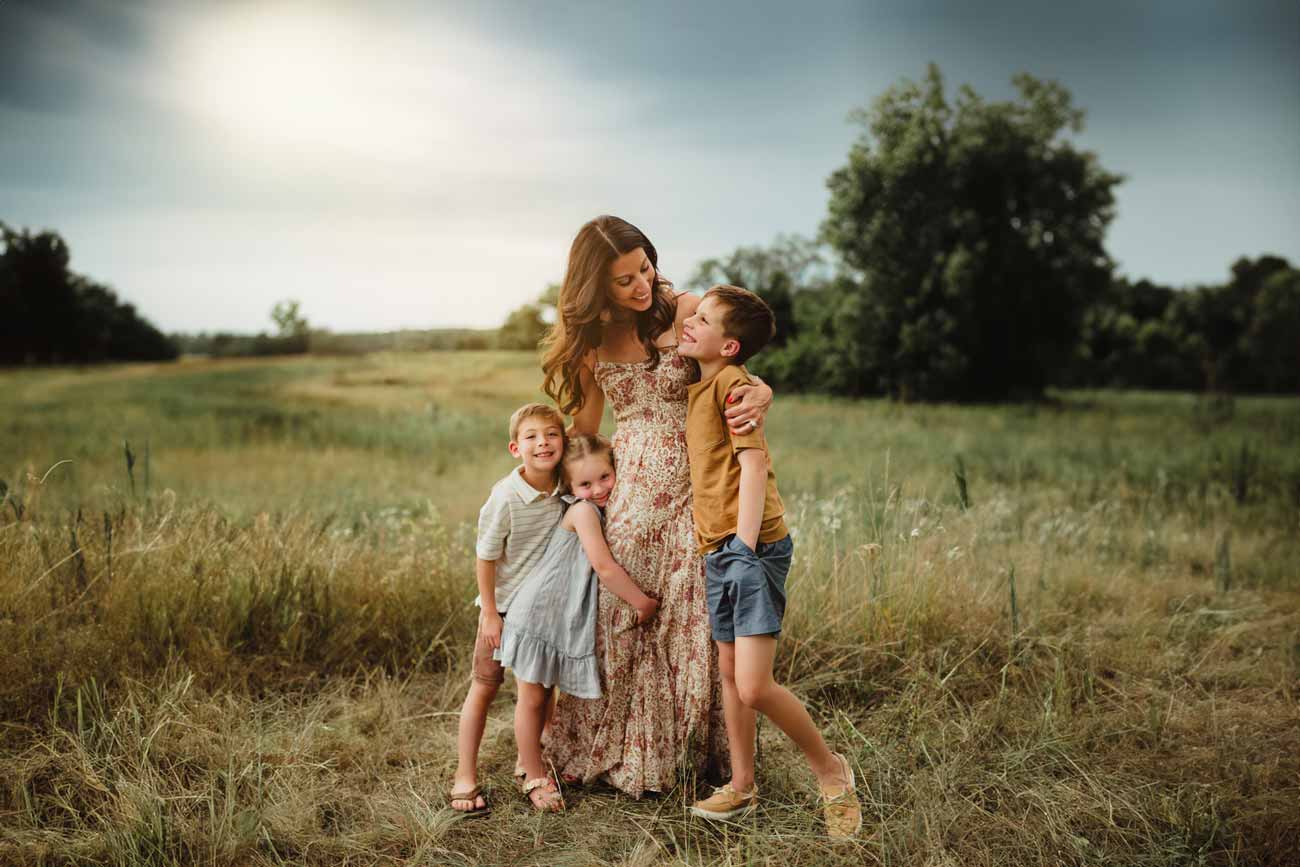
Before + After: Real Results
In the senior photo below, you’ll see how lighting, settings, and my presets work together.
Ready to Simplify Your Edits?
If you’re nodding along and thinking, “Yes, please,” then it might be time to peek at my Four Seasons Preset Pack. They’re beginner-friendly, glowy-by-default, and ready to bring out the best in your photos.


0
0